
Access instructions#
This section is dedicated to the instructions to follow in order to access the facility.
The entrypoint is https://hub.131.154.98.51.myip.cloud.infn.it/ and it will redirect the user to the JupyterHub service, deployed with the WP5 JHub Helm Chart.
Before accessing the hub itself, an authentication step is needed, relying on the IAM-ICSC service.
Requesting an account on IAM-ICSC#
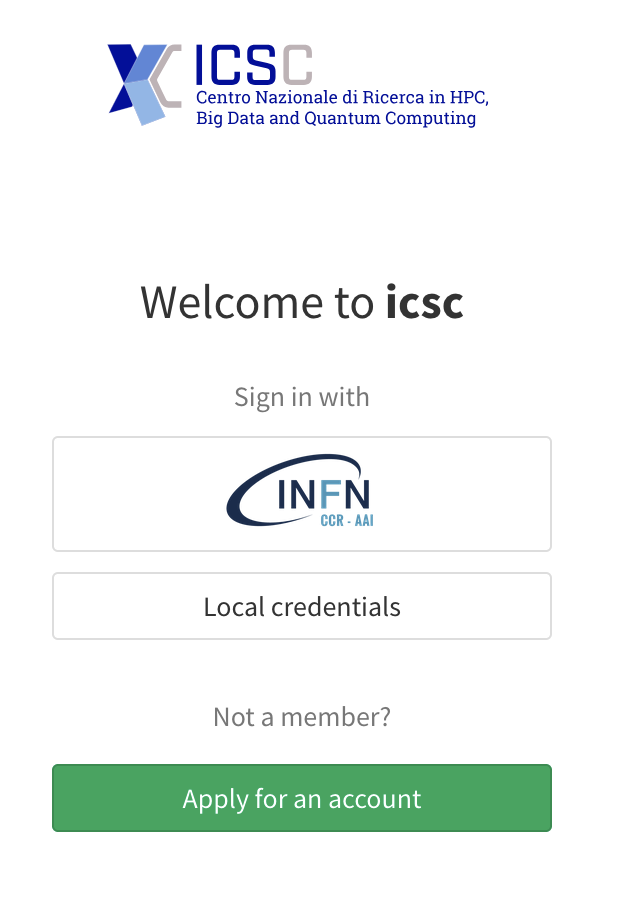
If you don’t have an account, go to this page: https://iam-icsc.cloud.infn.it
Apply for a new account by clicking on the green “Apply for an account” button (see Figure bottom-left);
Login with your INFN-AAI credentials.
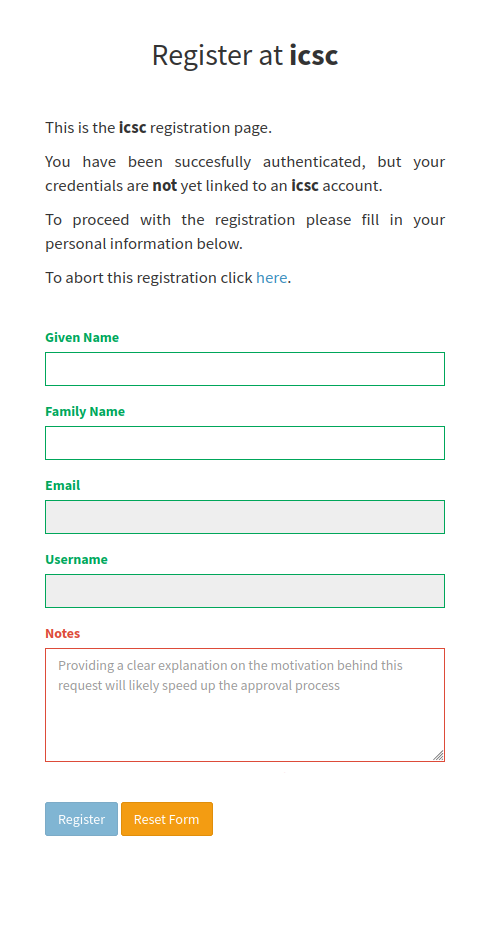
The page will then redirect you to a form to be filled in (see Figure bottom-right). You are asked to enter a motivation, briefly describing the reason for the access request;
Click on “Register” and wait for an admin approval;
After this approval, you’ll receive an email to confirm the username and to set the password;
Your IAM account is now active.
|
|
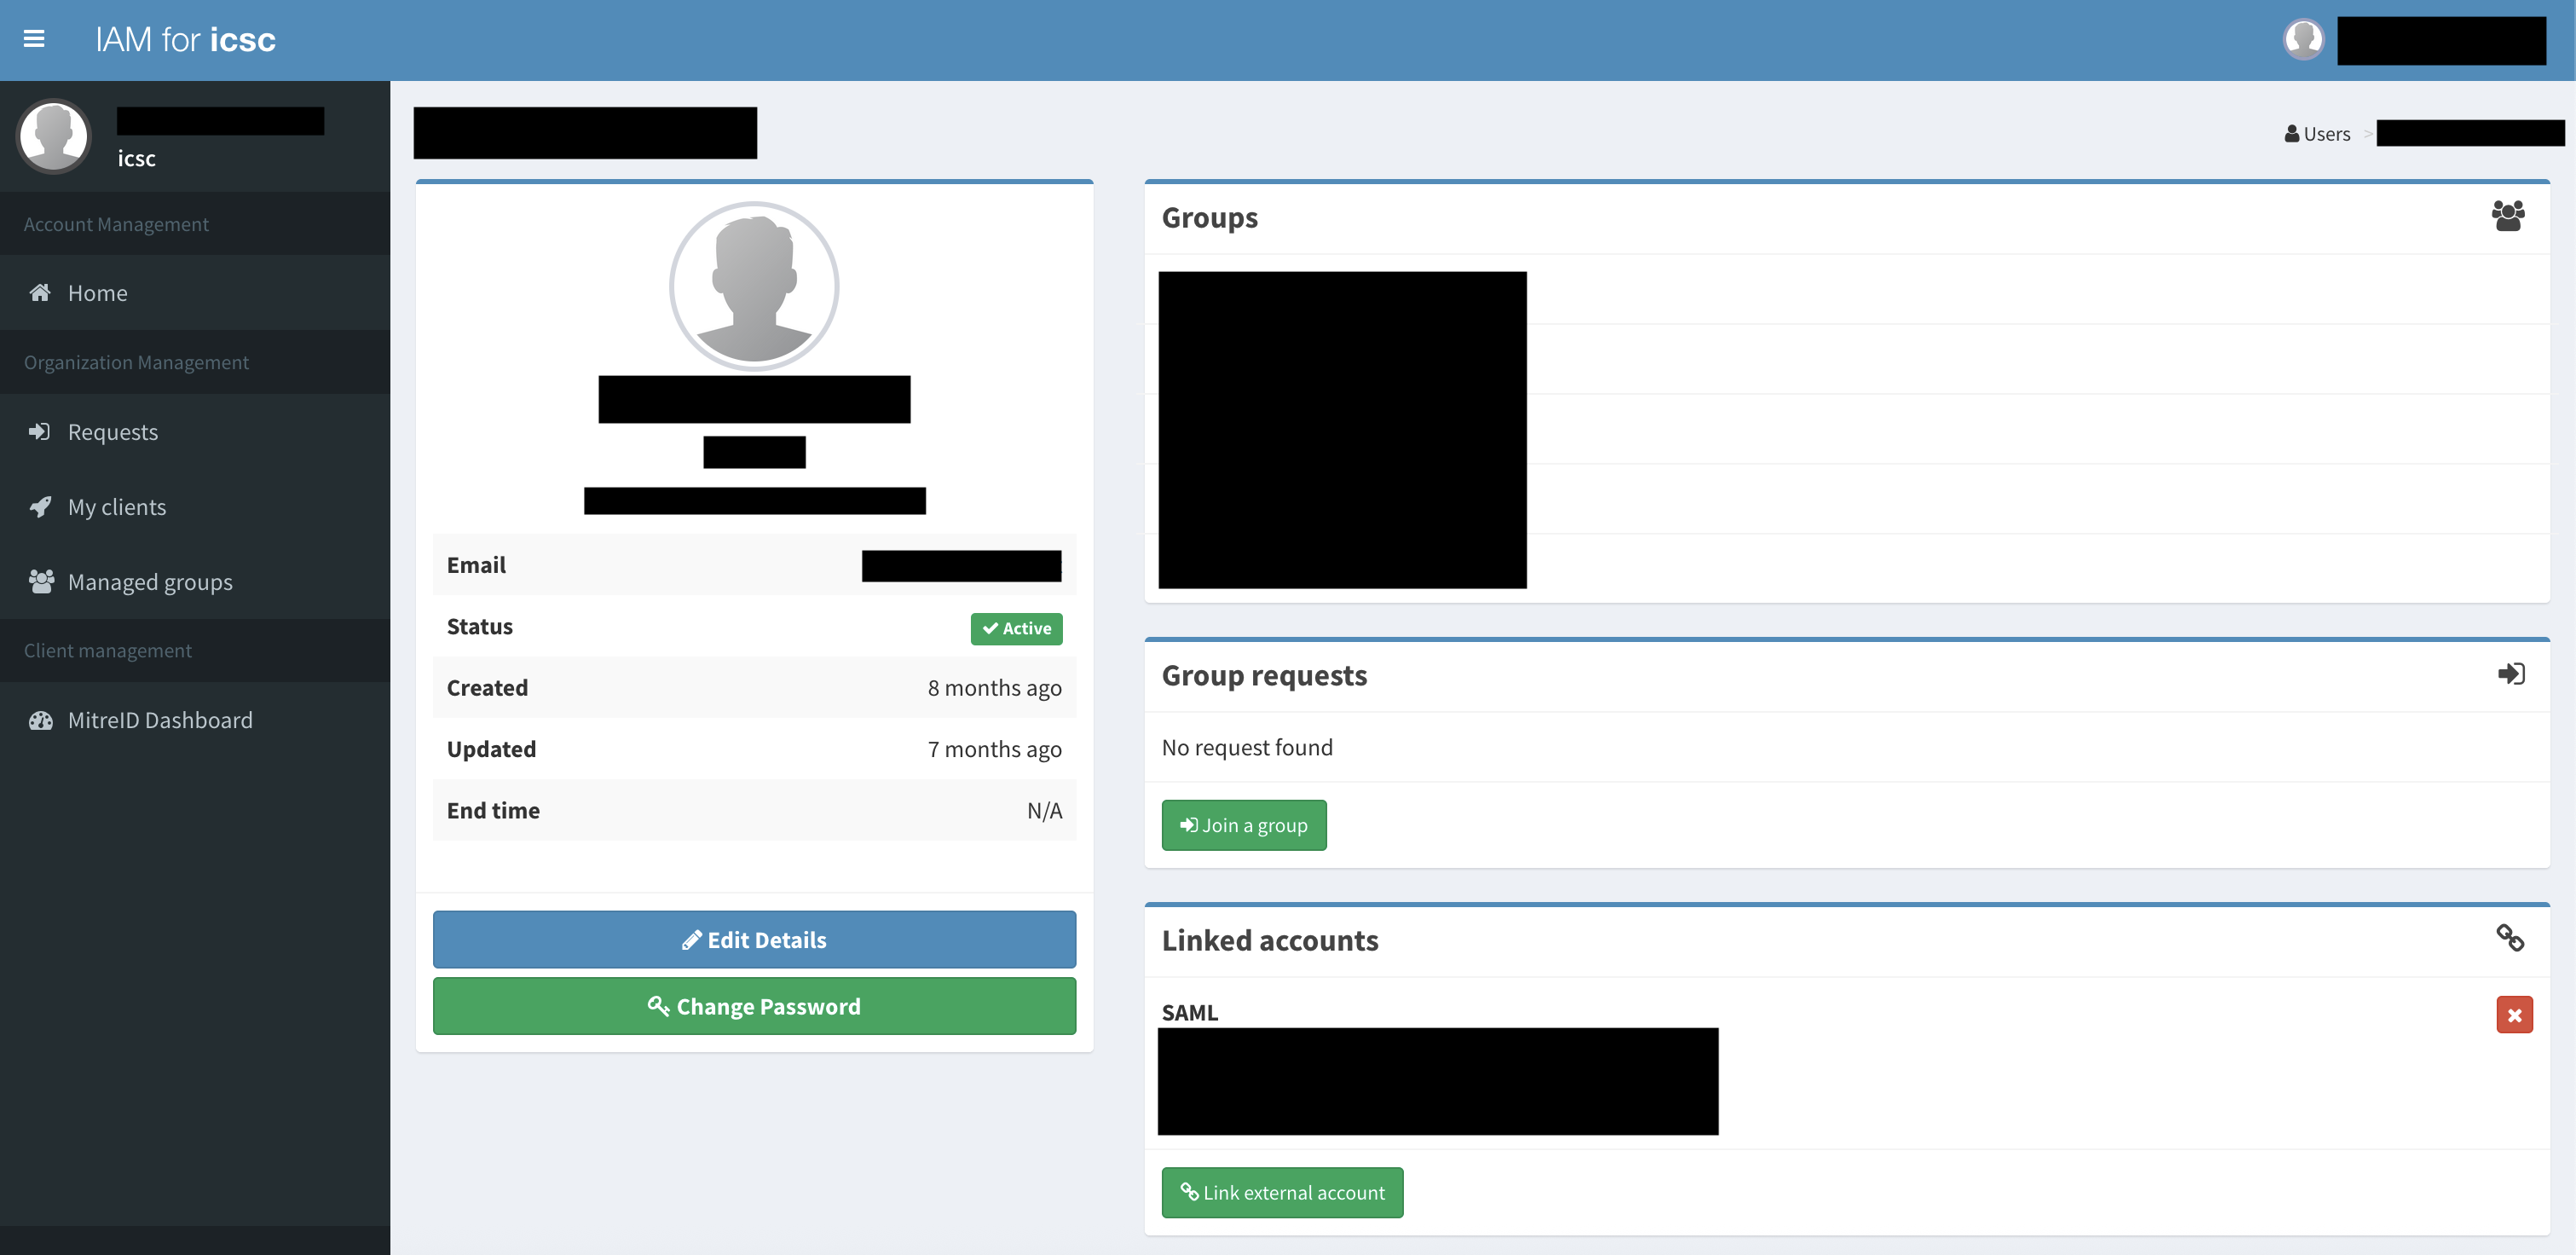
You can now login back to the IAM page and request access to the spoke2analysisfacility group, which will grant you access to the High Rate platform.
To do so (see Figure below), click on “Join a group” (under “Group request”) and select: icsc/users/spoke2analysisfacility.
You can use as motivation the same as before.
|
Once your request is approved, you will be able to access the platform.
Accessing the platform#
Go to the entrypoint URL: https://hub.131.154.98.51.myip.cloud.infn.it;
Warning
The page uses https, but for the moment no CA certificate is used. On your browser, you could receive the message “Connection not secure”. Click on “Accept the risk and continue” (or similar) to enter the homepage.
Click on
Sign in with OAuth2.0;Log in using the IAM-ICSC credentials created in the section above;
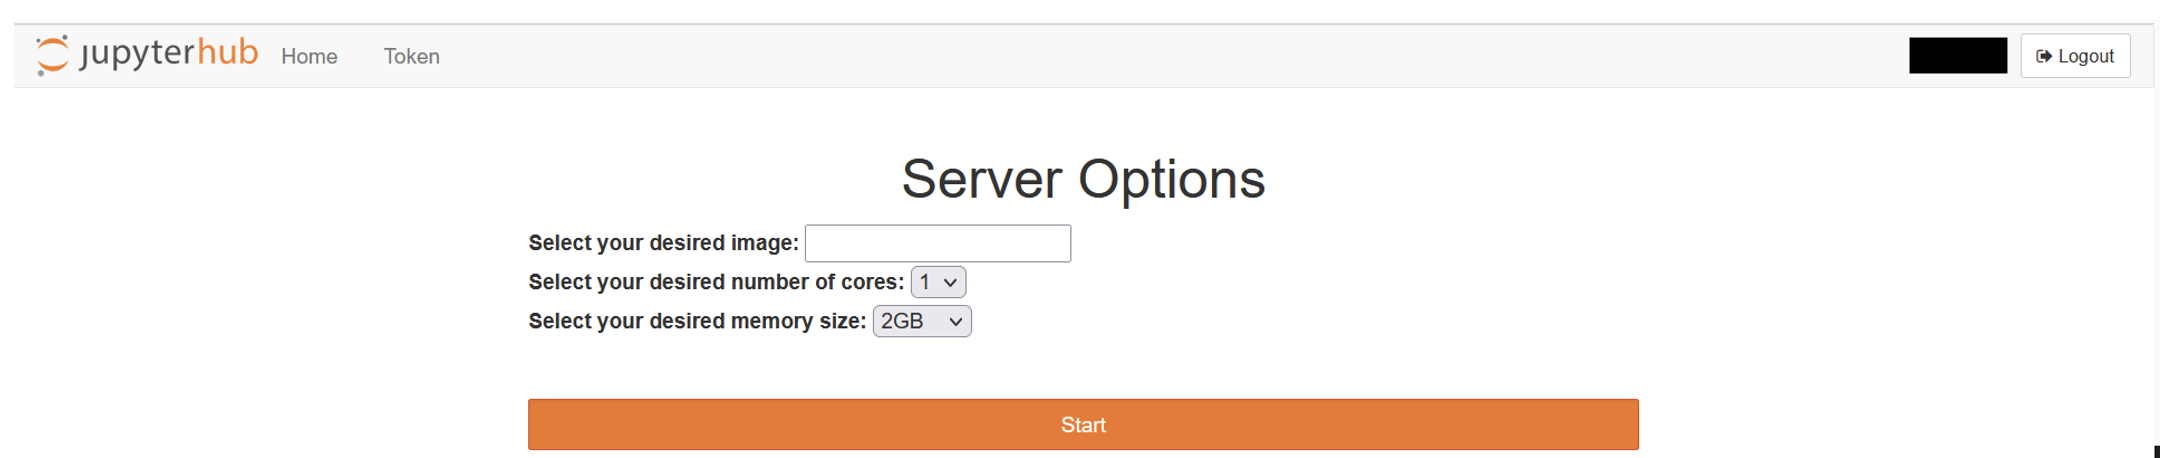
You will now see the Jupyter server possible configurations (see Figure below).
Specifically, you can choose from the dropdown menu:
The JupyterLab image to use (see Image configuration section below);
The required number of cores for the lab session. The following options are available:
1, 2, 4 o 8
The required memory capacity for the lab session. The following options are available:
2, 4, 8, 16
|
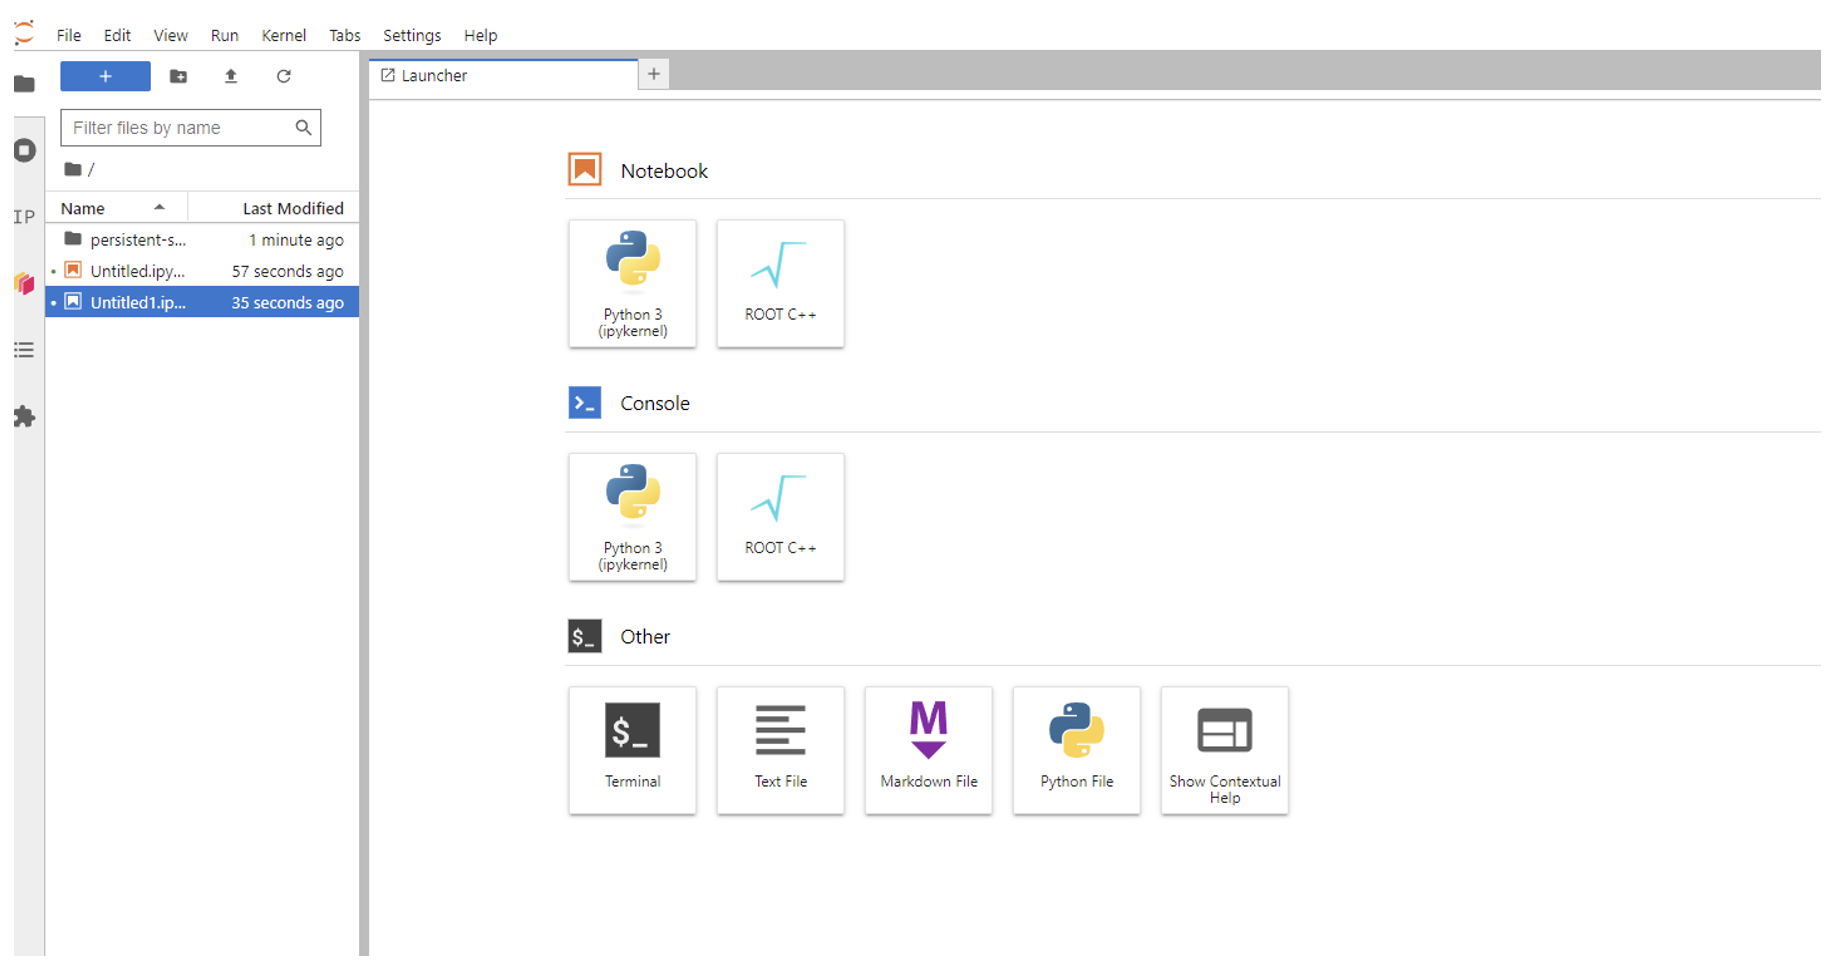
Wait for the server startup (the first time it can take several minutes), which will automatically start the final JupyterLab session (see Figure below).
|
Danger
Currently, each user is allocated 10 GB of persistent storage upon account creation. All files must be saved within the “persistent-storage” directory, otherwise they will be lost each time you exit and enter the platform.
Logout procedure#
To release the resources and correctly logout, simply click on “File -> Hub Control Panel” and then click on “Stop My Server”.
Image configuration#
Once logged-in, the user has to choose an image to be loaded on the platform (JupyterLab and Dask cluster). Choosing a custom image is an option (see Create a custom image), however some ready-to-use images are available:
Image |
System |
Included Package(s) |
Offloading |
|---|---|---|---|
AlmaLinux9 |
Python 3.11 + Dask + ROOT 6.32.02 |
No (all inside the k8s cluster) |
|
ghcr.io/icsc-spoke2-repo/jlab:wp5-alma9-highrate-offload-v0.0.3-cvmfs-infn |
AlmaLinux9 |
Python 3.11 + Dask + ROOT 6.32.02 |
Yes (offloading to HTCondor nodes) |